How to Auto-Generate Social Images using Bannerbear, Zapier, and Airtable
Let's be honest. Creating social images for every blog post, lead magnet, or announcement is a soul-sucking chore. It's the task you do last, at 11 PM, when your creative juices are drier than a desert. You open Canva, pick a template, swap some text, and hope it looks okay. Rinse and repeat. For every single post. It's repetitive, time-consuming, and frankly, kinda boring. But here's the thing: visuals get clicks. You can't just skip them. So what if you could just… make them appear? Magic? Nope. Just a smart workflow. Let's build one.
The Dream Team: Airtable, Bannerbear, and Zapier

Think of this as your new content assembly line. Airtable is your brain—the spreadsheet where all your content ideas, titles, and keywords live. It's your single source of truth. Bannerbear is your artist. You give it a beautiful, branded template and tell it what text or images to slot in. Zapier is the hyper-caffeinated intern running between them. The second you drop a new row in Airtable, Zapier sprints over, grabs the data, shoves it into Bannerbear, and yells "MAKE IT!" A minute later, you've got a perfect, on-brand image, saved right back to your Airtable base. No coffee runs required.
Step 1: Build Your Content Command Center in Airtable
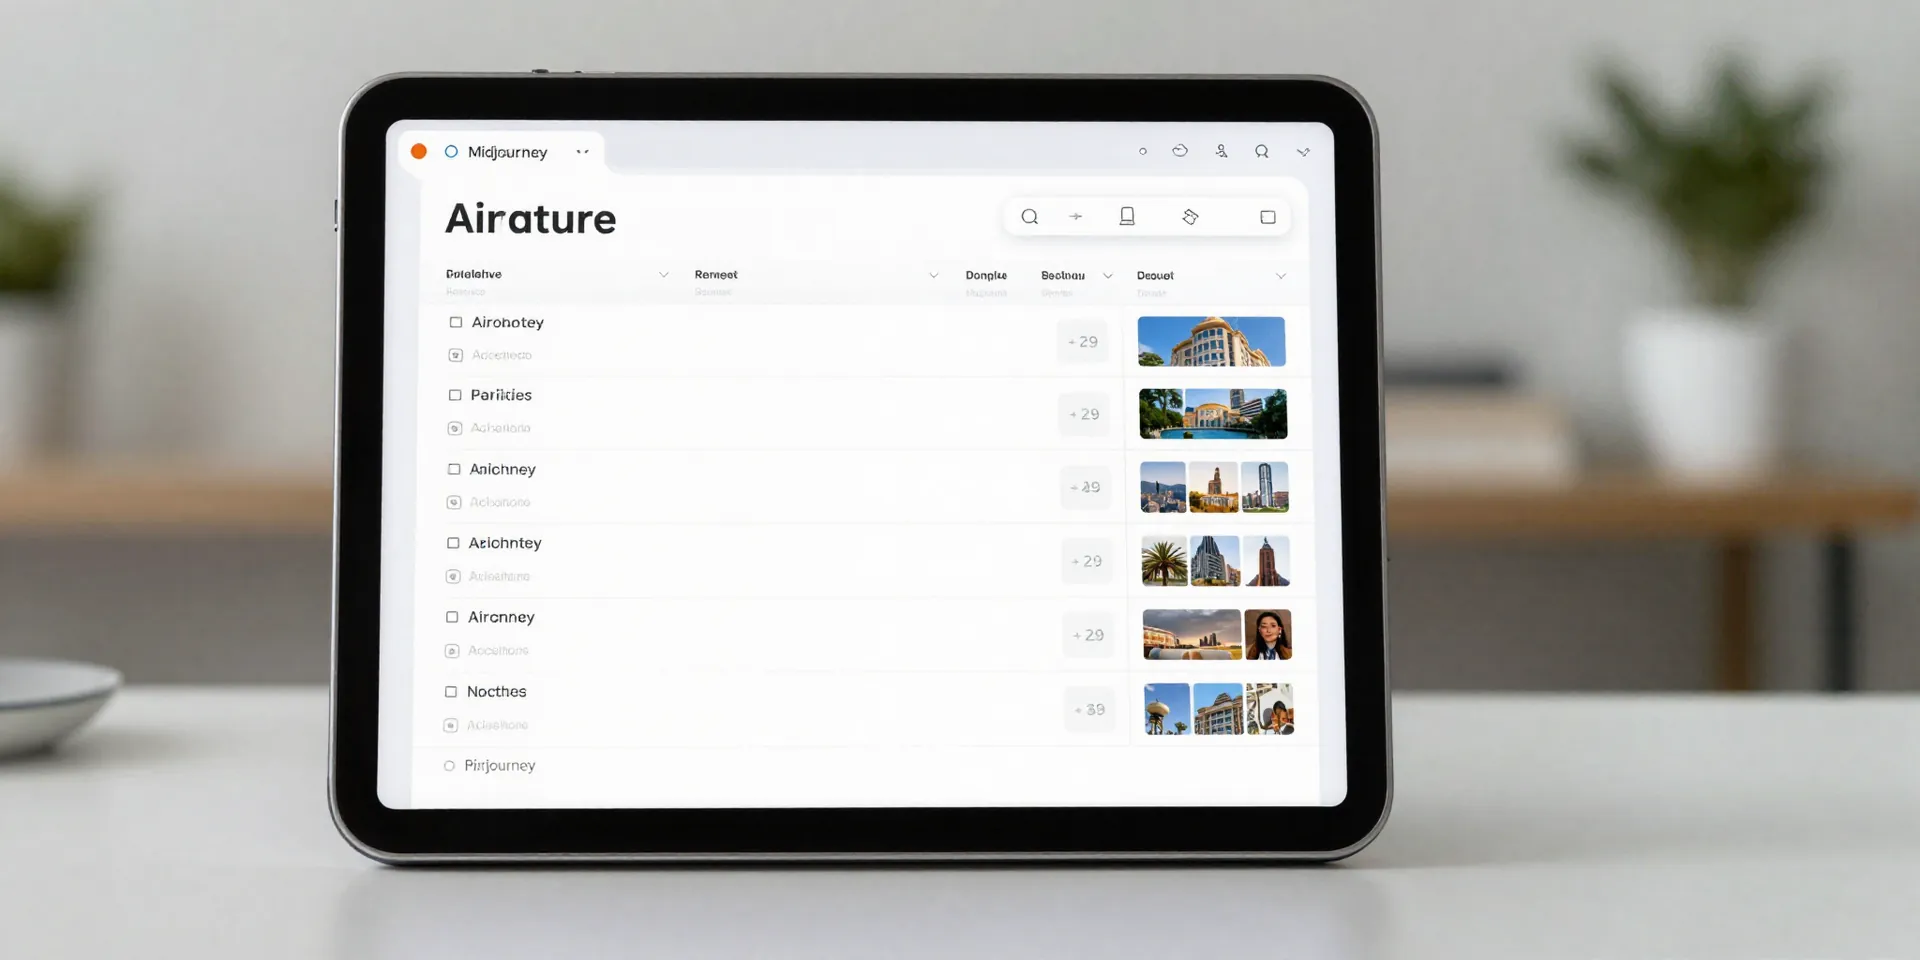
First, you need the ingredients. In Airtable, create a base for your content. You'll need columns like "Blog Post Title," "Status," "Target Keyword," and most importantly, a "Social Image URL" field (use an 'Attachment' or 'URL' field). This is where the finished magic will land. Actually, just make a "Slug" column too—a URL-friendly version of your title. You'll need it later. This table isn't just for automation; it's for you. It's your editorial calendar, your progress tracker, and now, your image factory. Get it organized. Your future self will send you a thank you card.
Step 2: Design Your "Set It and Forget It" Template in Bannerbear
This is the fun part. Head to Bannerbear and create a new Template. Design your master social image. Use their drag-and-drop editor to place background images, your logo, and—critically—text layers. Here's the key: you don't type the final title. You type a variable, like `{{post_title}}` or `{{main_keyword}}`. Think of these as empty boxes. Later, Zapier will fill those boxes with the real data from your Airtable row. Brand it once. Use your fonts, your colors, your vibe. Make it look so good you'd be proud to post it anywhere. This one template can now spawn infinite, consistent variations.
Step 3: Unleash the Robot with Zapier (The "Zap")
Time to connect the dots. In Zapier, create a new Zap (their word for an automation). The trigger? "New Record" in your Airtable base. The action? "Create Image" in Bannerbear. Zapier will ask you to map the fields. It's simple: where Bannerbear asks for the `{{post_title}}`, you point it to the "Blog Post Title" column from Airtable. Do this for every variable in your template. Then, add a second action *back to Airtable*: "Update Record." Find the new record you just created and paste the gorgeous image URL Bannerbear generated into your "Social Image URL" column. Hit publish. Your assembly line is now live.
What Now? You've Got a Superpower.
The system is running. You write a new post. You paste the title and slug into Airtable. You change the status to "Ready for Social." You hit save. And then you go make a coffee. When you come back, check the "Social Image URL" column. There it is. A perfect 1200x630 Open Graph image, ready for your CMS. A square Instagram post. A Pinterest pin. All from that one Airtable entry. You just deleted a recurring task from your life. Use that time to write more, to strategize, or honestly, to take a real break. That's the point of automation. It's not about being lazy. It's about being smart with your energy.